

 ( How to Take Screenshots in macOS )
 Loading...
Unlike Windows PCs, Mac keyboards have no dedicated Print Screen key. On Mac, you use keyboard shortcuts, the Screenshot app, or — on MacBooks with Touch Bar — a button on the control strip. Here is how it all works.
Using Keyboard Shortcuts
Capture the entire screen
Shift + Command + 3A thumbnail preview appears in the bottom-right corner. Click it to add arrows, annotate, or crop before saving. This method instantly captures the screen — useful for grabbing a frame from a YouTube video or a game.
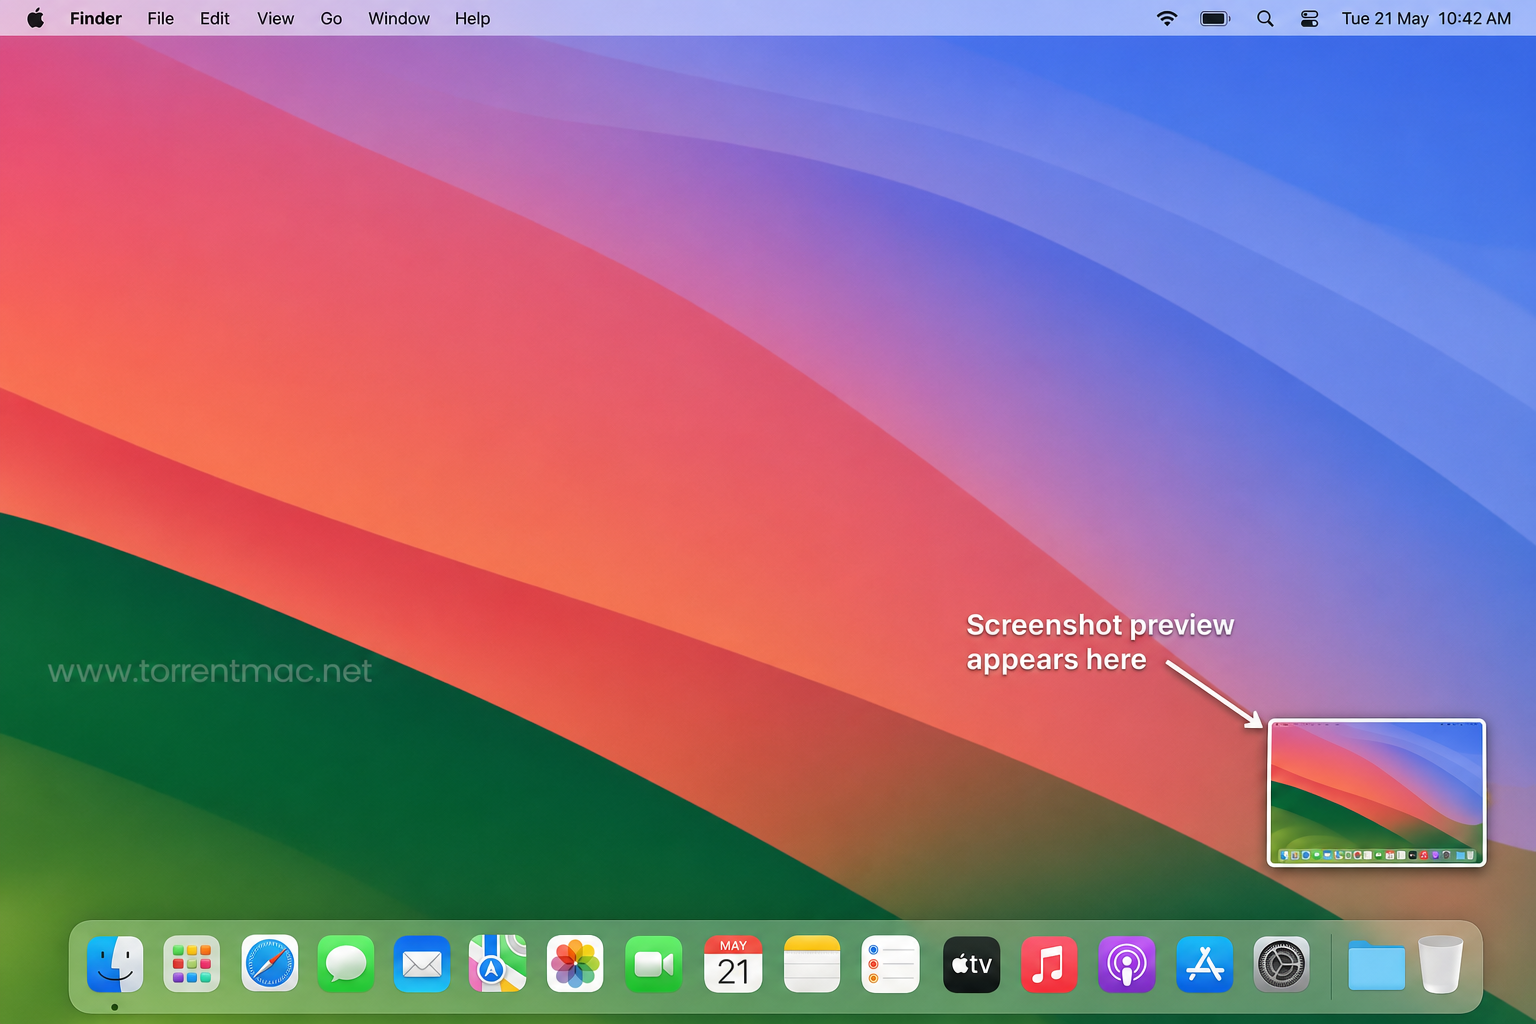
The screenshot preview appears in the bottom-right corner.
Capture a selected area
Shift + Command + 4A crosshair cursor appears. Click and drag to select the area you want to capture. Handy when you need part of a chat or a specific item in a product catalog.
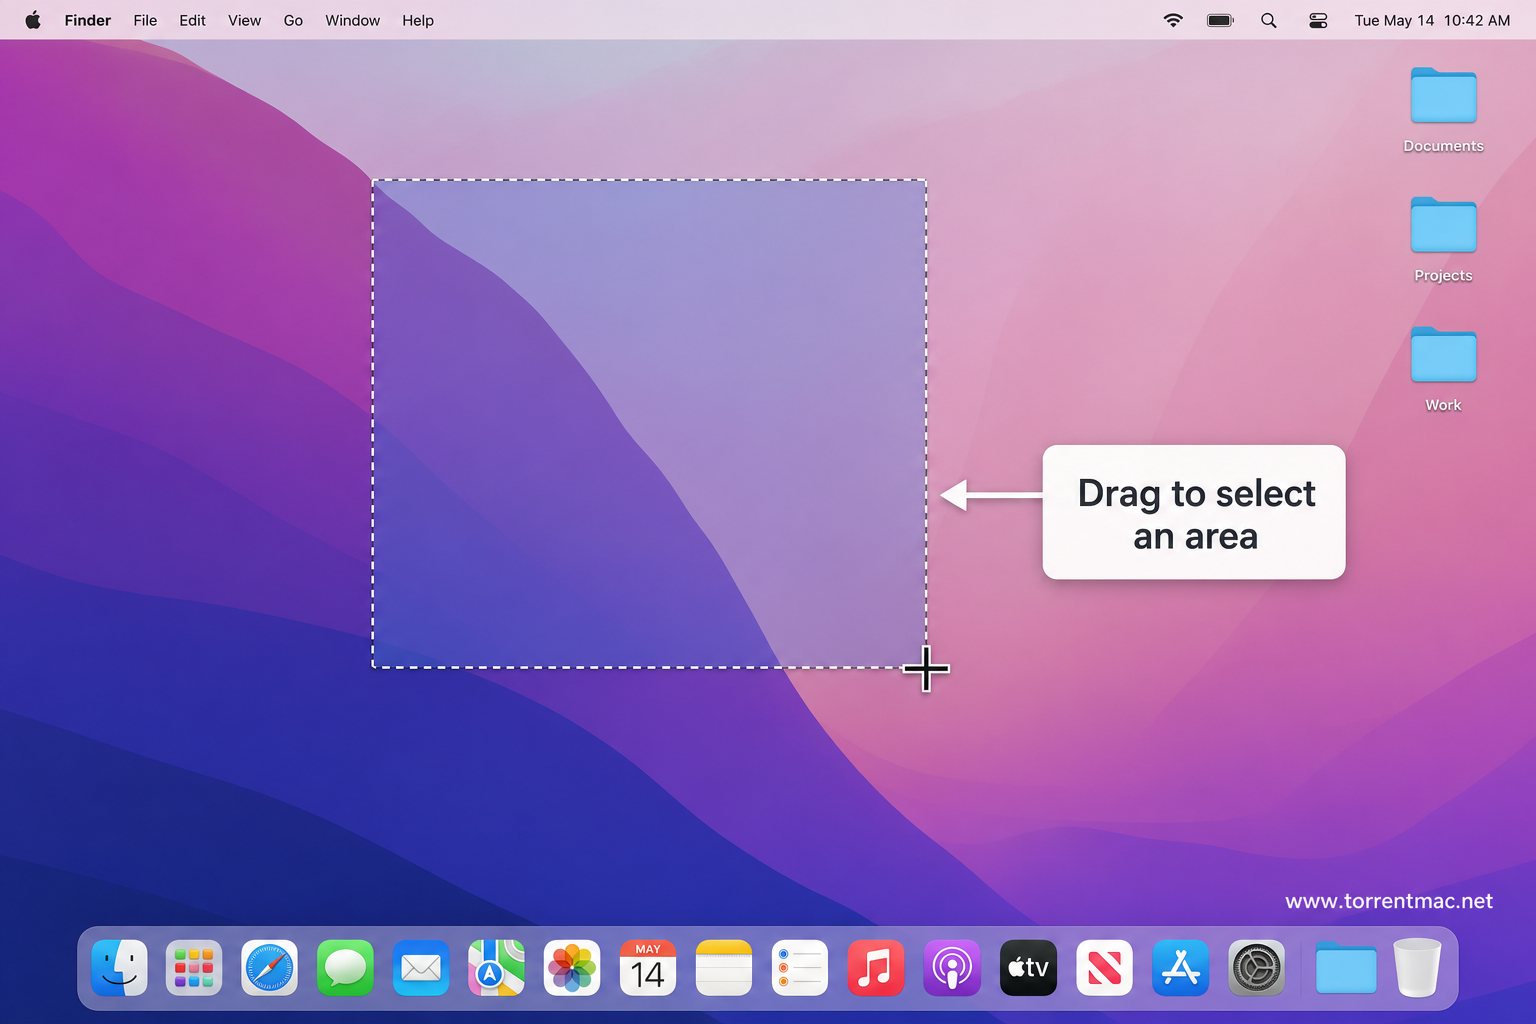
Drag the cursor to select an area.
Capture a window
Shift + Command + 4 + SpaceThe cursor turns into a camera icon. Click the window you want to capture. By default, window screenshots include a shadow and transparent background — great for presentations and guides. Hold Option while clicking to capture the window without the shadow and frame.
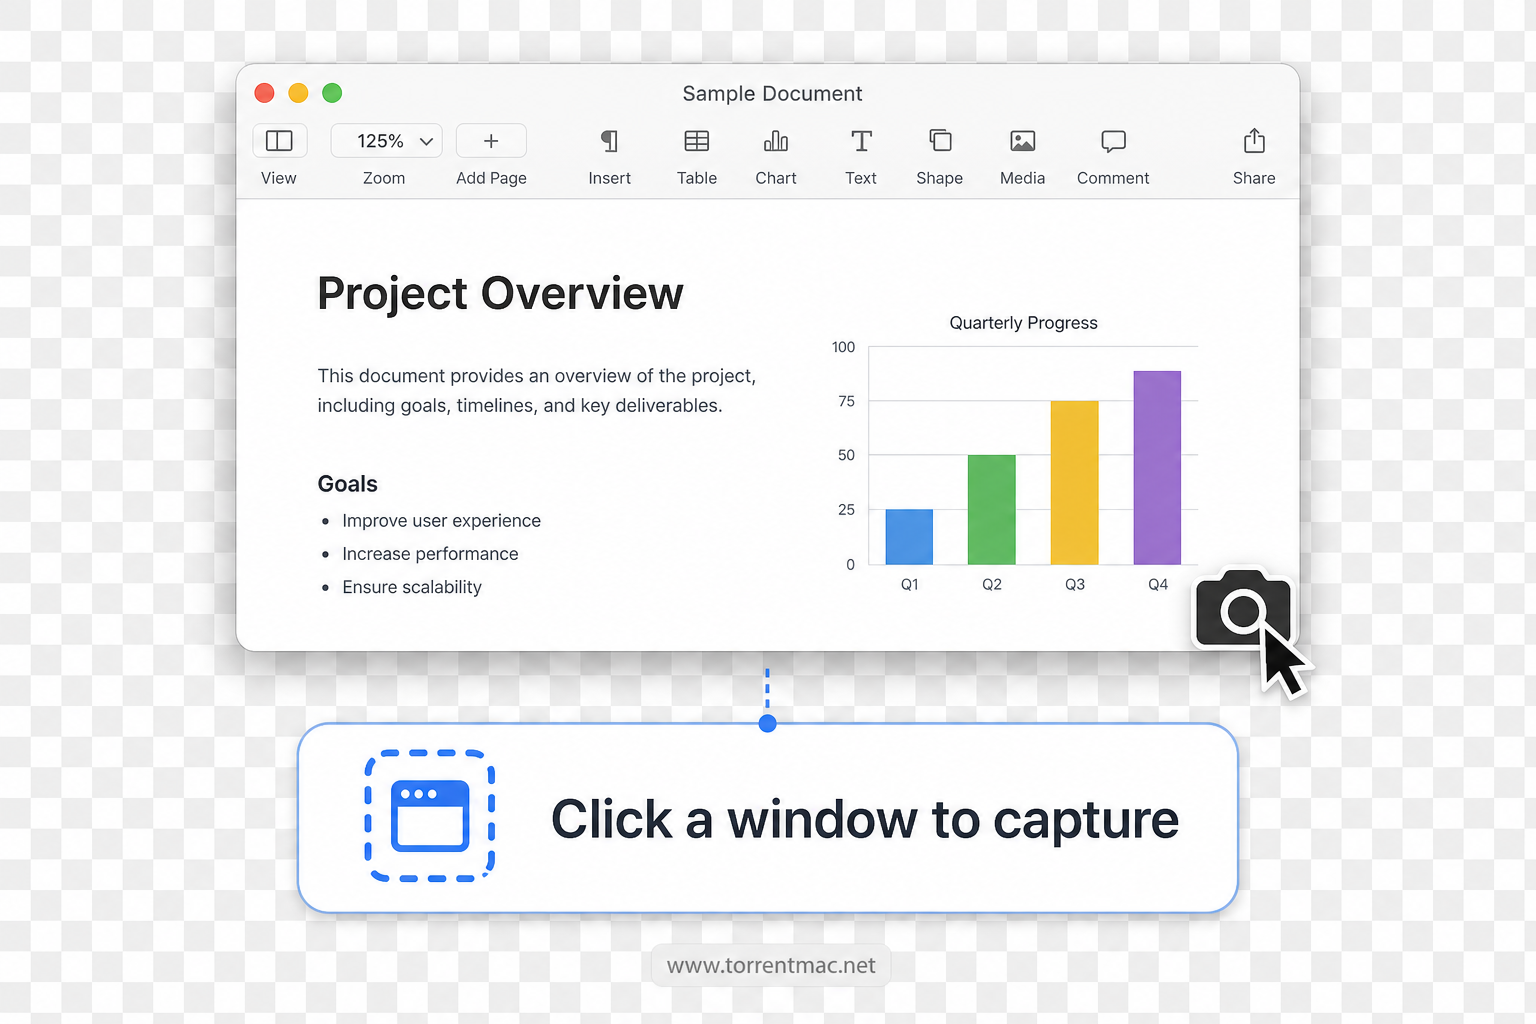
Click a program window or browser tab when the camera icon appears.
All screenshot options in one menu
Instead of memorizing every shortcut, remember just one:
Shift + Command + 5Or open the Screenshot app (camera icon) from Launchpad and drag it to the Dock for quick access — your own screenshot button.
On a MacBook with Touch Bar, you can add Screenshot to the control strip: open System Settings → Keyboard → Customize Control Strip, then drag the Screenshot icon onto the Touch Bar.
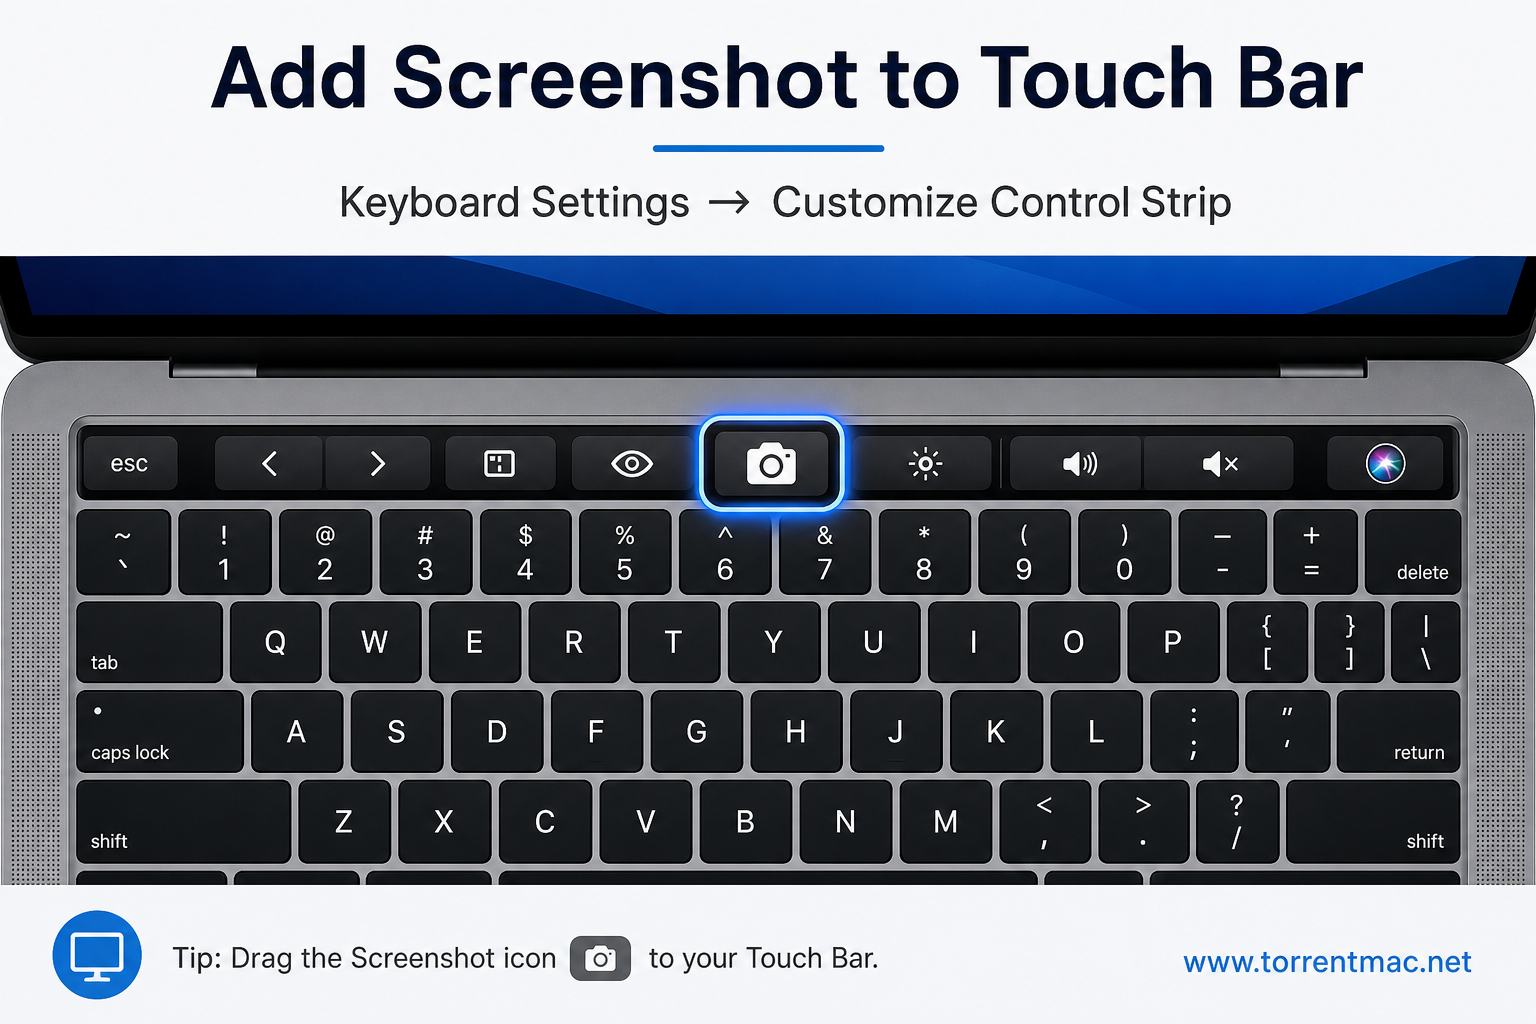
Add the Screenshot icon to the Touch Bar for quick access.
Shift + Command + 5 or the Screenshot app opens a toolbar with every capture mode: full screen, window, selected area, plus screen recording. Useful for showing how a website works or documenting a bug.
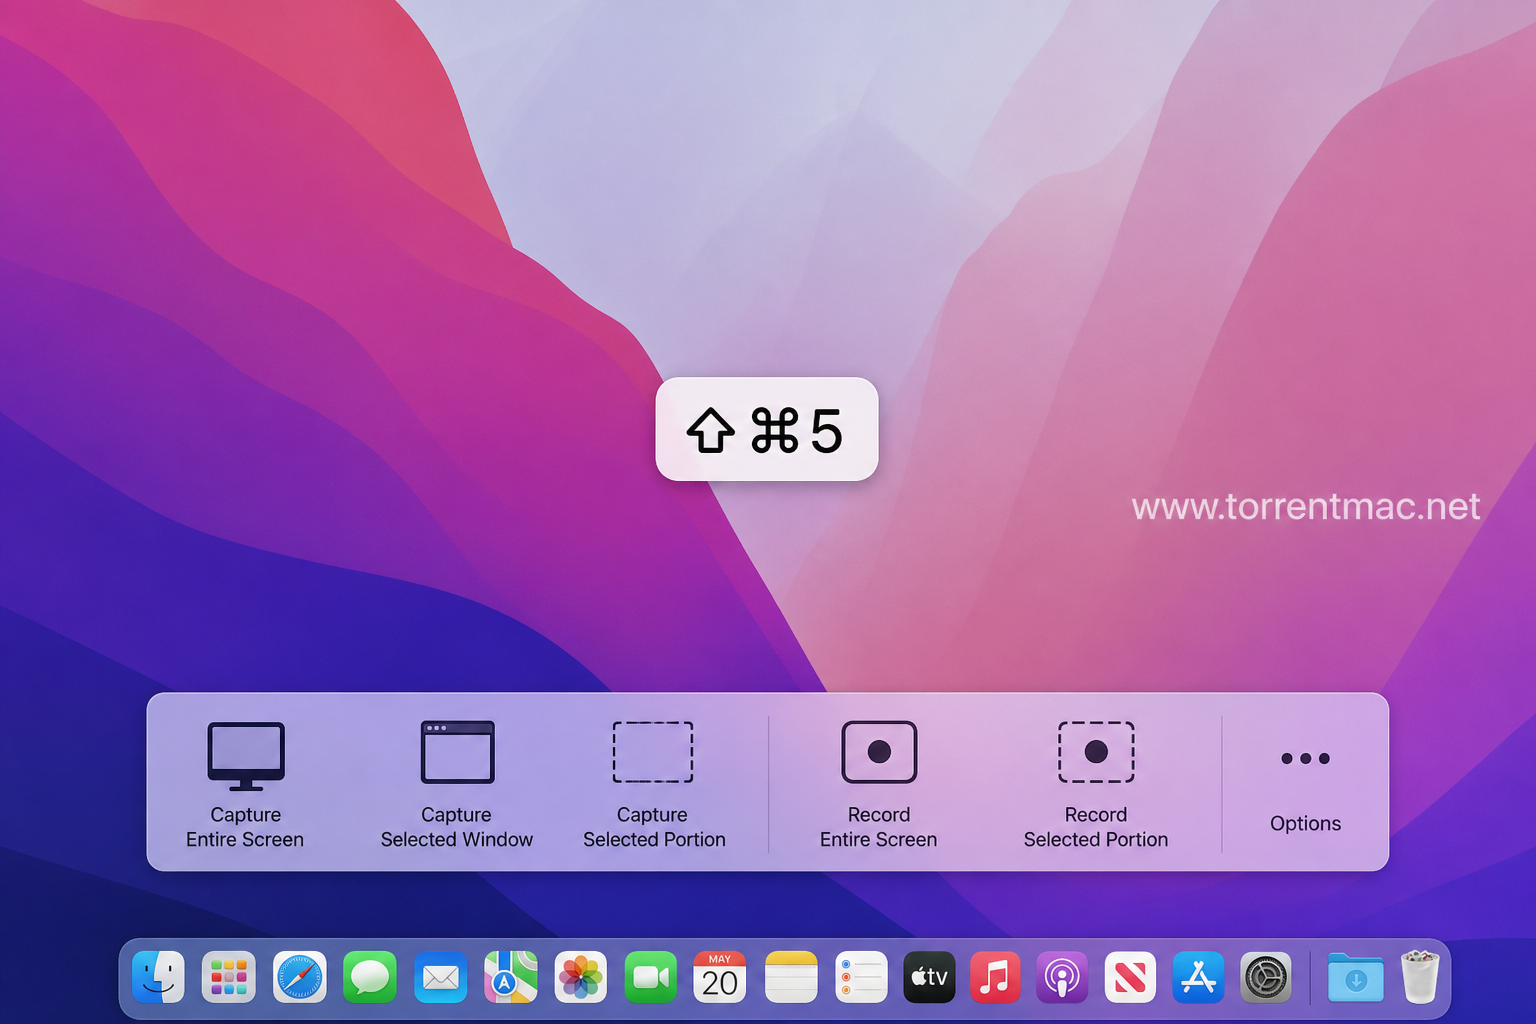
Shift + Command + 5 opens the full screenshot and screen recording menu.
Capture the Touch Bar
On MacBook Pro models with Touch Bar, you can screenshot the Touch Bar itself:
Shift + Command + 6Handy if you want to show how you arranged extra controls on the Touch Bar.
Save to a Folder or Copy to Clipboard
By default, screenshots are saved to the Desktop. To change the save location, press Shift + Command + 5 or open Screenshot, then choose a folder under Options.
To skip saving a file and copy straight to the clipboard, add Control to any shortcut:
- Full screen:
Control + Shift + Command + 3- Selected area:
Control + Shift + Command + 4- Window:
Control + Shift + Command + 4 + Space- Touch Bar:
Control + Shift + Command + 6Paste the screenshot anywhere with Command + V. If iCloud is enabled, the image may also appear in the clipboard on your iPhone or iPad.
Change Keyboard Shortcuts
If the default shortcuts feel awkward, you can customize them. Go to System Settings → Keyboard → Keyboard Shortcuts → Screenshots.
Assign your own combinations — for example, Command + S + 1 for full screen and Command + S + 2 for a selected area. macOS warns you if a shortcut is already in use.

